Showing posts with label Craft tutorial. Show all posts

Tuesday, November 16, 2010

Tutorial: Reusable snack bag

Besides a sandwich I also like to carry some carrot sticks or almonds to munch on. Here's a simple drawstring bag that eliminates those throw-away baggies! I like this design because it stores flat, without any little corners to catch food nasties.

Reusable Snack Bag
This one is filled with carrot stick goodness!

Materials:
Two pieces of fabric, at least 9" or 10" square.
Two pieces of ribbon, about 30" long (each)

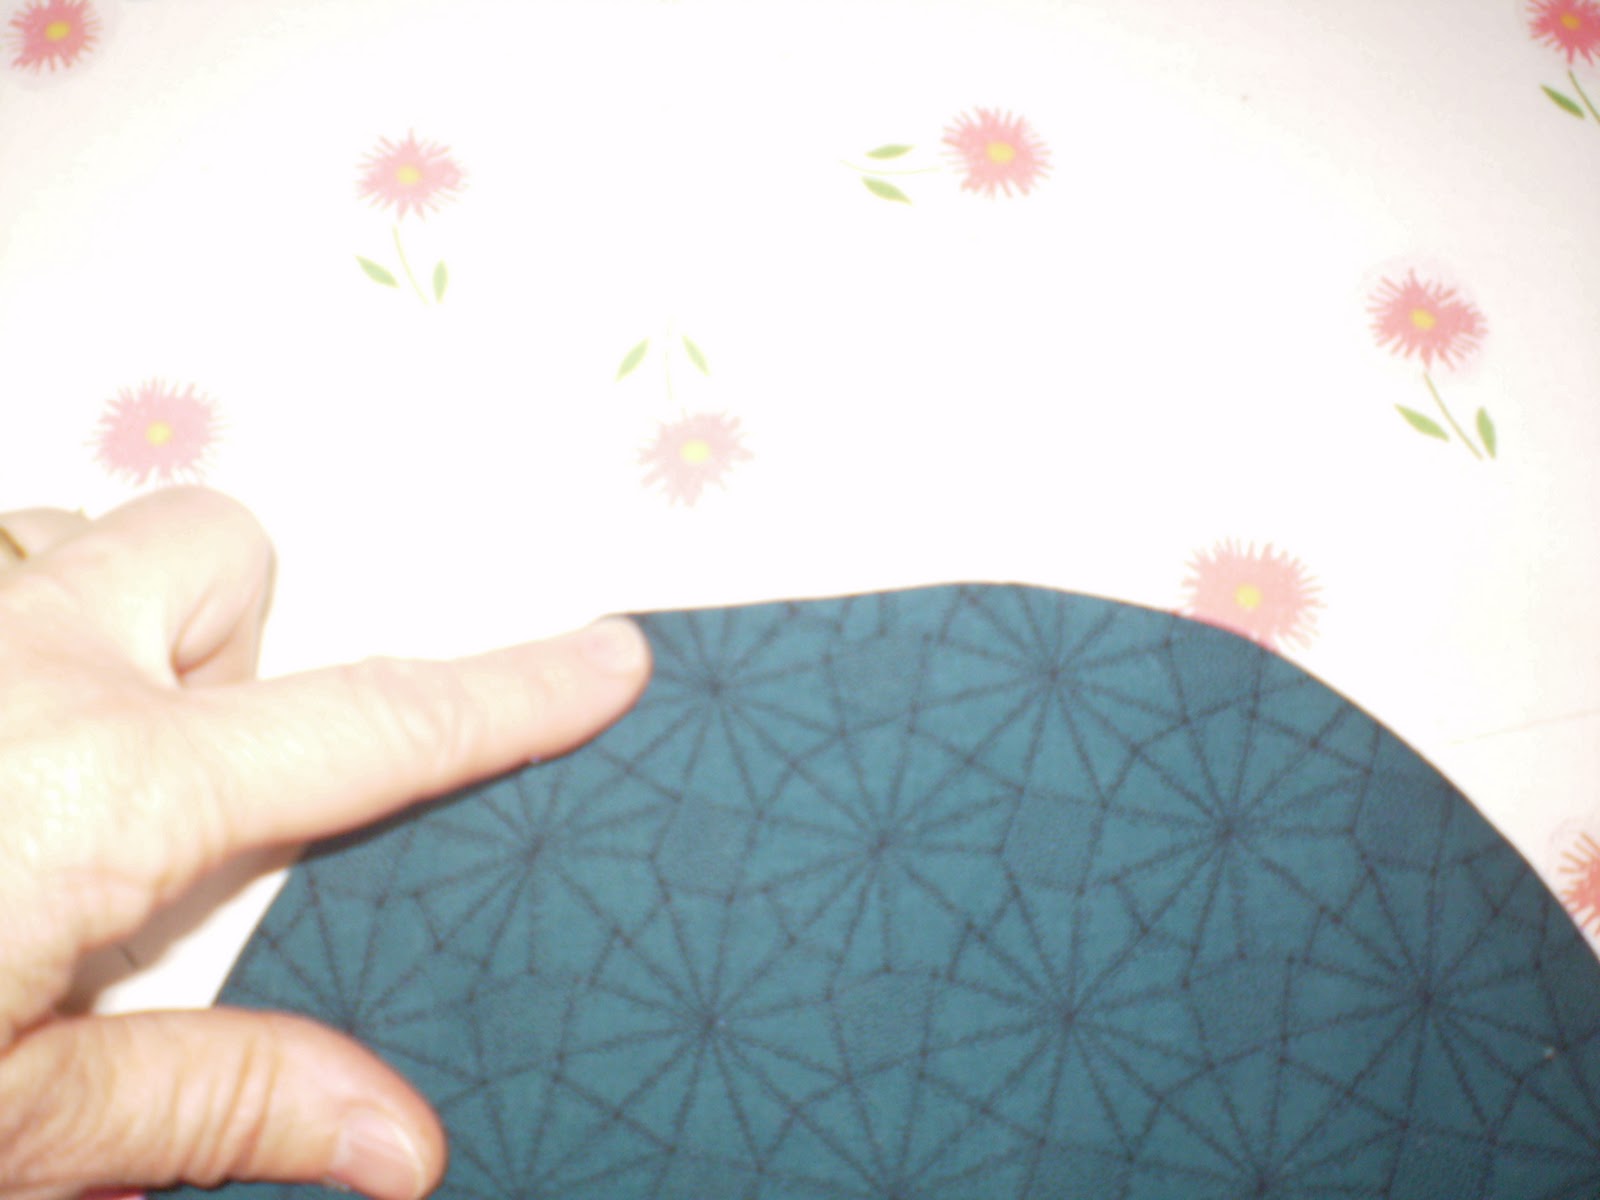
Cut out two circles of fabric. I traced around a bowl that is 8" in diameter.
Sew a small buttonhole, about 1/2" long next to the edge of one piece of fabric. It should be about 1/4" away from the edge. 

Fold the circle in half at the buttonhole, to mark the point on the circle directly across from the first buttonhole, and sew a second buttonhole on the other side of the circle.

Right sides together, sew the two circles together with a 1/4" seam allowance. The seam goes around the OUTSIDE edge of the two buttonholes. Leave a small opening to turn the circles right side out.

Turn the circles right side out, and press flat. 

Press the edges of the small opening in.
Top-stitch, close to the edge, around the entire circle. Sew around the circle a second time, this time INSIDE the edge of the buttonholes. You have just sewn the opening shut AND made a casing for the drawstrings (the ribbons).
Using a small safety pin attached to one end of one of the ribbon pieces, pull the ribbon through the entire circle. You will begin at one of the buttonholes, and come back out at the SAME buttonhole.
Tie the ribbon ends together with an overhand knot. Repeat on the other buttonhole. You want to have two ribbon drawstrings. Each one will go around the entire circle, and come out at the same place where it started.

Now you are ready to load some carrot sticks, crackers, almonds, or other snacky yumminess into your reusable snack bag, and pull on the two strings:

And there you go - a healthy snack for you, and a healthy, reusable snack bag for the planet!
The snack bag will reverse itself...you can still pull the drawstrings shut, even if the bag is "inside out."

Monday, November 15, 2010

Tutorial: Reusable sandwich wrap

I love taking lunch from home--healthy and cheap--but I don't like all the packaging waste. I go through 2 or 3 ziplock baggies every day, so last weekend I made some reusable, washable sandwich wraps and snack bags. I'll show you how to make the sandwich wraps today, and tomorrow we'll take a look at the snack bags.

Quick and easy! They were also free, as I was able to use up some fabric scraps that were just taking up space. Here's how I did it:

Reusable Sandwich Wrap
This is the size for a 1/2-half sandwich.

Materials:
two squares of fabric, 9" x 9"
two pieces of narrow ribbon, 6" each

Sew the two fabric squares, right sides together, almost all the way around all 4 sides. Leave a small opening for turning right side out.
Turn right side out, press.

Insert one of the ribbons into the opening, extending out diagonally from the corner. Sew the ribbon into place, and continue edge-stitching around the entire square.

This top-stitching eliminates the need to slip-stitch the opening closed, and it will also keep the square in nice shape when it is washed.
Here's a photo the square with the first ribbon sticking out from the left, and the top-stitching finished. Now measure in 3 1/2" from the opposite corner, heading in diagonally from the corner. Attach the second ribbon at that spot.

At the base of the second ribbon, sew a very small button hole. Should look like this.
The button hole will double your use of the sandwich wrap, by making it reversible. Now, if one side gets a little funky, you can pull the ribbon through the button hole and use the other side for a time or two (depending on how goopy your sandwiches are...) before throwing the wrap into the wash. Here's a photo of the ribbon pulled through to the reverse side.
Now here's how the wrap works. (These photos are using the reverse side--the blue side--of the wrap. The photo at the top of the post shows a sandwich wrapped up with the green side out.)

Place the sandwich inside the wrap, next to the button hole. (Sorry, my "sandwich" is in plastic wrap for the photos, because it's just a piece of bread cut in half with paper in between pretending to be fake meat. It would have fallen apart without something around it. But a real sandwich, held together with some mayo and mustard, did fine when I made my lunch this morning.)
Fold the sides over, and then flip the whole thing toward the remaining point of the wrap.
Tie a tidy bow, and voila! No more baggies needed for the sandwich.