*Check out more photos of this little bag on
Polly's blog. This bag went to my daughter, Polly, for a birthday gift. Her camera takes better photos than mine!
This tutorial will take you through the steps to create a sweet little drawstring jewelry bag. You need less than 1 yard of lightweight fabric. Your finished product cinches up into a compact little bag, perfect for keeping jewelry tidy and safe when you travel...or hanging next to the dresser at home!
The photo below gives you an idea of the scale of this little bag when it's finished. This view shows it open, with the pockets for tucking jewelry into.
So what are we waiting for? Let's get started!
Begin with some pretty fabric. You can make entire bag from the same fabric, but it's so fun to have contrasting fabrics. You'll also need 2 yards of cord.
The pattern is super simple. You already have it in your house! Pull out a dinner-sized plate and a cereal bowl, and trace around them with both fabrics. (I'm cutting out both fabrics at once.)
Now comes the hard part. Decide which fabric is going to be on the outside. I decided to go with the polka-dot red fabric.
Fold it in half and put a pin at each end of the fold marks. Then open it out.
Now you need to measure and mark at each pin to make the buttonhole for the drawstring. Seriously, after you've gone through choosing which fabric to have on the outside, this step is only a little bit difficult! Here's what you do:
1. Measure in 3/8" from the edge. Put a pin there.
2. Now measure in another 1/2". You will be at 7/8" on the measuring tape. Put a pin there, too.
3. You'll be sewing two buttonholes in just a minute. The buttonholes will go in between the two horizontal pins, along the line indicated by the vertical pin.
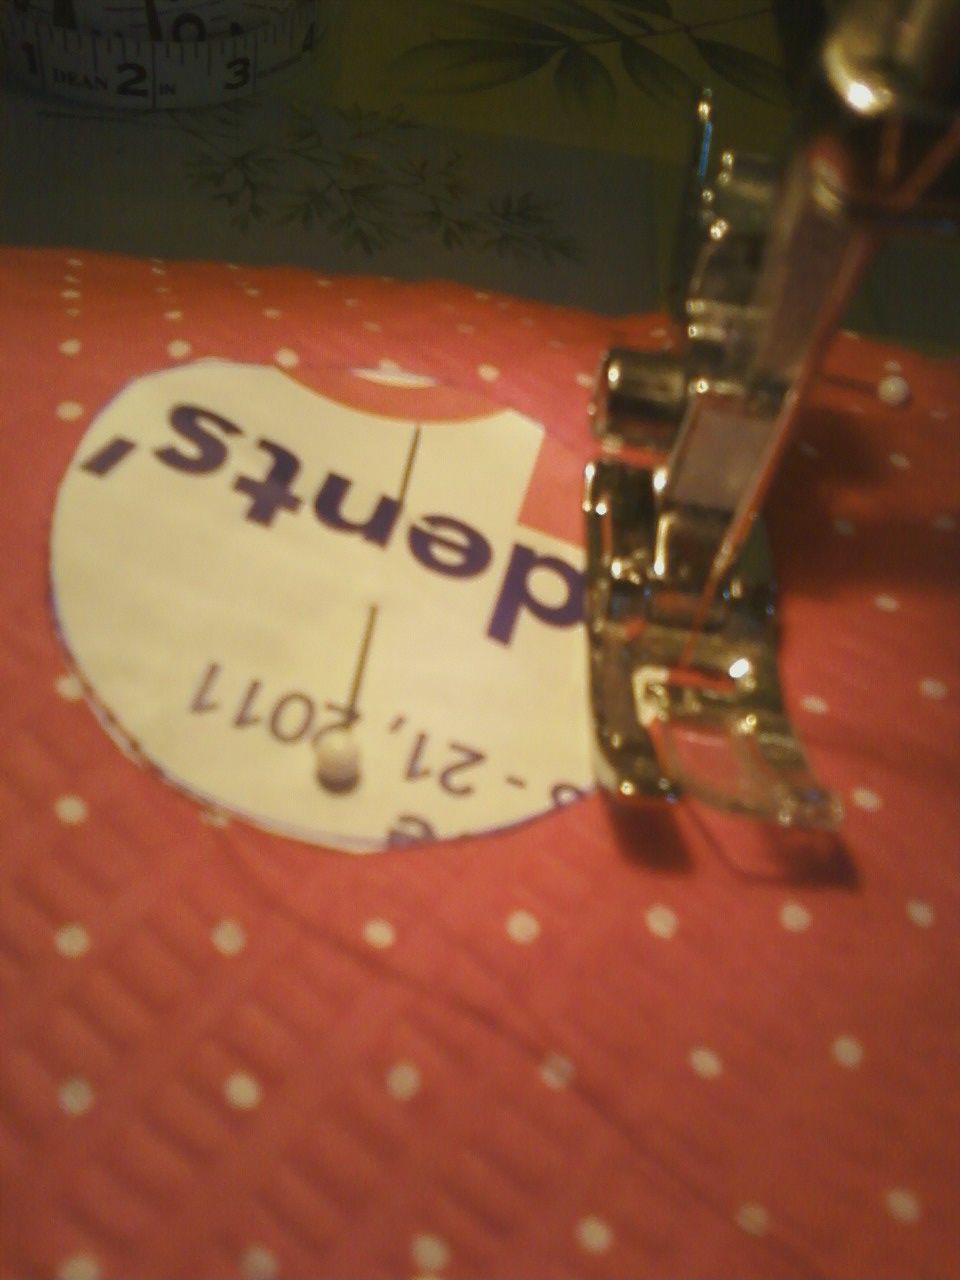
Now pull out the sewing machine and remind yourself how you make buttonholes. I did several practice rounds on this little scrap. (You can see the sewing machine instruction book in the background. They always turn out better if I stop at this point and
look up the instructions.) It's really worth taking a couple of extra minutes to get it right.
Once you have the buttonholes finished, pin the circles right sides together. You can pin the two smaller circles together now, too.
Stitch around the perimeter of the circle, at the outer edge of the buttonholes. I wish I had a clearer photo for you. Can you see the buttonhole right above the pin in this photo? My stitching will go right along the top edge of the buttonhole as I head around the circle.
Now this next step may be a surprise: you do NOT need to leave a couple of inches open to turn the circles right side out. This is true for both circles. Just stitch all the way around. Trust me!
After you have stitched all the way around, "poof" the two pieces away from each other and make a small slit on the INSIDE fabric. Do NOT cut the outside fabric. Your slit should be no more than 1 1/2" long on the larger circle, and no more than 1" long on the smaller circle. Be sure to make the slit right in the center of the
inside circle.
Be brave. You can make that slit! Now turn the two circles right side out through the slit, and press them nicely flat and open. Don't worry; we'll get rid of those slits in just a minute.
Go ahead and finish the casing for the cord by sewing another line of stitching 1/2" from the outside of the large circle. This stitching should be right next to the bottom of the buttonhole. See it there in front of my finger? Sorry...you have to look really close. But I think you get the idea.
Now we're going to make some little jewelry pockets inside the drawstring bag, by doing some work with the smaller circle. First, fold the smaller circle into quarters to find the center of the small circle, and mark it with a pin.
Measure around the sides of it to get it centered over the larger circle.
Note: at this point, those two slits are directly on top of each other. When we sew the small circle down to make the jewelry pockets, the slits will magically disappear...they will just be our little secret.
You need to stitch a teensy circle into the very center of the smaller fabric circle. I like to make a small circle pattern by tracing around a large spool of thread, or something like that. Then I fold that paper pattern into quarters and center it on the small circle (above).
Now I have my paper pattern pinned into place, to help me stitch a beautifully even teensy-circle (about 2" in diameter) in the middle of the small fabric circle. This will make our pockets more functional, and it will effectively hide the slashes.
Here we go, stitching carefully around the paper pattern. You'll be throwing the pattern away after you sew around. Sew through all layers - the large circle and the small circle.
This next step is hard to show in photographs. Stitch six radiating lines out from the teensy center circle. You just need to stitch until you get to the outer edge of the small circle. Sew through all layers. You can see where I've inserted my hand into the resulting pocket...the perfect size for a pair of earrings, or a necklace, or whatever other lovely baubles you want to store without getting tangled or lost.
Now cut the cord in half and use a safety pin to thread each piece through the casing. The cord will go ALL the way around the circle, and come back out where you started. Then you'll do the same thing through the other buttonhole with the other piece of cord. This will make it a double drawstring bag. It pulls shut really easily, and it opens easily, too.
Here's the drawstring jewelry bag all closed up tight...keeping those precious goodies safe and sound inside.
Here's the bag when it's pulled open. You can see that my finger is going into one of the pockets. Isn't that floral lining cute? Have fun with your new Drawstring Jewelry Bag!


5 comments:
It turned out really cute, Mom. Nice job with the directions. That reminds me...I need to run to the post office.
Super cute! Thanks for the directions! I have a bag like this made by my aunt. I've always wondered how to make them. (Came over from Polly's blog)
Very cute! I should make some for my girls to keep their pendants in.
Thanks so much! I used your instructions to make a play mat with roads on it that doubles as a bag to hold all the matchbox cars.
Post a Comment